
2015+ WRX Install Overview for the iBR HPFP Stage 1 Kit
This is a basic set of install instructions for the iBR HPFP Stage 1 Kit. These instructions apply to the 2015+ WRX Platform and will be very similar to the 2014-2018 Forester XT. During the release of the first batch of pumps we learned a lot about the potential install issues our customers had and included tips and suggestions here.
Above you can see the contents provided in the kit. Starting at the left you see the HPFP piston assembly that will replace the stock components. A 1/2" drive socket and a socket adapter to remove and reinstall the replacement piston assembly in to the HPFP housing.
Required Tools:1/2" Drive RatchetMethod of holding the HPFP housingT40 Torx Plus Driver (Link on Amazon)17mm Open Ended Box Wrench

First you will want to crack the HPFP output fitting to relieve pressure from the fuel system. The fitting uses a 17mm wrench. Place rags around the fitting to soak up any fuel that comes out. If you have run your car recently then crack open the fitting very slowly and only crack open enough for fuel to barely start leaking out. Let the system sit with the rags around it until all the pressure is relieved.
Now completely disconnect the HPFP fuel outlet fitting, inlet fitting and the electrical connection. You may of have to pull the fuel pump hard line away from the pump slightly to make removing the pump easier. Be careful not to kink or bend the hard line while doing this. Just a quick note, the hard line is technically a one time use part as per the service manual. We have had no problems reusing this part in the past but your results may vary.
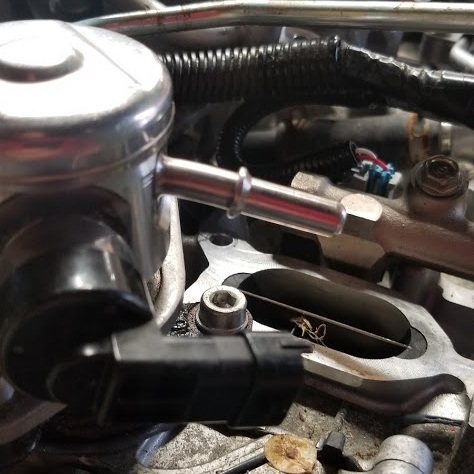
Now it is time to remove the HPFP assembly from the engine. Start by breaking free the two T40 Torx Plus (not standard T40 Torx) bolts that hold the HPFP assembly to the head. Completely remove these bolts. Then lift the HPFP housing straight up and out of the engine.Here is what the OEM HPFP assembly looks like once its removed from the engine.

Next Step is to hold the HPFP Assembly so that the lower pump body can be removed from the main housing. First insert the hex adapter into the bottom of the pump then use the provided socket to unscrew the lower pump assembly.
Use the allen head cap bolts that come with the kit to bolt the manifold adapters down to the heads. There is an allen T Handle tool that comes with the kit to make this process much easier. At this point you can test fit the manifold to make sure the bolt holes line up properly. Small adjustments in the position of the Adapters might be needed to get everything lined up properly.When test fitting the manifold there are a few small tweaks that may need to be done to get everything to fit properly without touching. See the next couple steps and make sure to look at the correct directions for the intake manifold you are planning to use.For the red aluminum intake manifold:
The small adjustment for this intake manifold is the fuel inlet connection to the High Pressure Fuel Pump. The connector on the fuel line does not clear part of the casting. This small corner of the casting near the fuel rail mounts is not a critical area and can be easily removed with a grinder. The quicker option to fitting is to just slightly bend the inlet port on the HPFP. We use an 11mm deep socket to slide over the inlet connection and tap very lightly with a small hammer. It is easy to bend and bends very nicely.
For the black plastic intake manifold:
This modification is even easier than with the red intake manifold. On this manifold there is just a small piece of webbing from the injection molded design that can rub on the HPFP high pressure line going to the fuel rails. You can see it when you test fit the manifold where the hard line wraps around the intake manifold. Mark where the line touched the manifold and trim the plastic with pliers or a Dremel tool.*If you are using a flex fuel kit the fuel line connectors going to the HPFP are different than OEM. You may need to do the HPFP inlet modification with the black manifold as well, see above.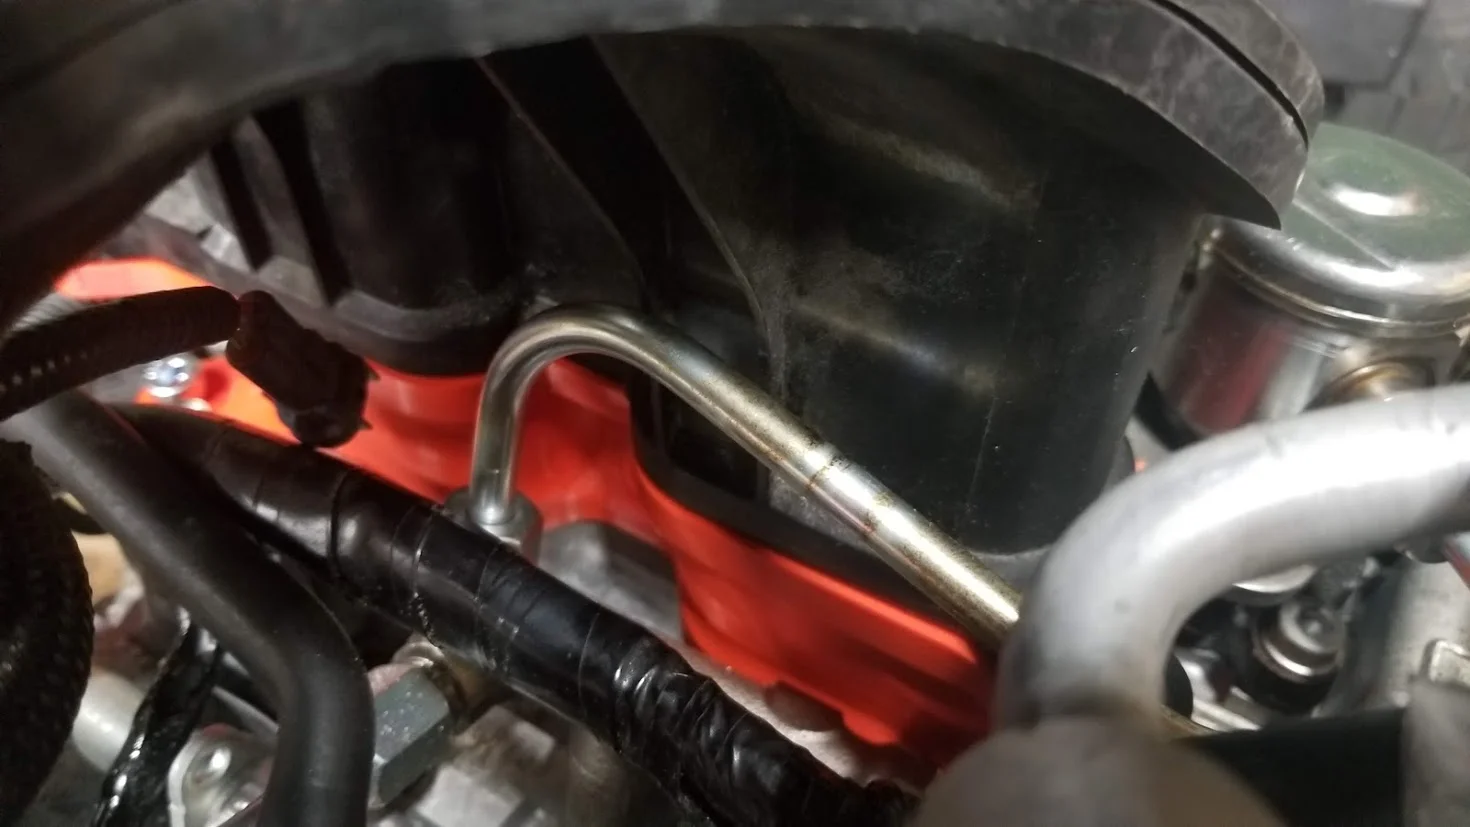

If you are keeping your Evap solenoids we have provided a bracket to hold them to where the EGR valve was originally bolted in. Reuse OEM hardware to mount this bracket to the Evap solenoid bracket.

While the manifold is off its good to take a look at the different vacuum lines that you will need to connect to the intake manifold. Here is a breakdown of the possible connections you will need to make.Brake Booster Line
This is one that everybody will have to connect. The OEM line has a one-way fitting in it so make sure you at least reuse that section and connect it in the same direction it came off the OEM manifold. Connect this line to the smaller of the two connections on top of the BRZ manifoldEvap solenoid and Bypass valve
These are the two smaller lines that connected to the bottom of the OEM intake manfiold. If you are keeping the Evap line then go ahead and use a “T” or “Y” connector as the BRZ manifold only has one connection on the bottom of the manifold. You will need an extra foot or two of 5/16" tubing for this connection.PCV connection
By the time you are doing this modification you should have already installed an AOS to this connection. The AOS will then connect to the intake manifold. You will need to use the larger of the top ports on the manifold for the PCV/AOS connection. If you don’t have an AOS you should get one but if you need to connect it anyway you can use a section of 3/8” line to connect the PCV to the intake manifold.
Preparing the intake manifold
We recommend doing these next steps on a work bench to make life easier. The pictures below were taken after the parts were installed on the car but the intake manifold parts can be assembled off the car.
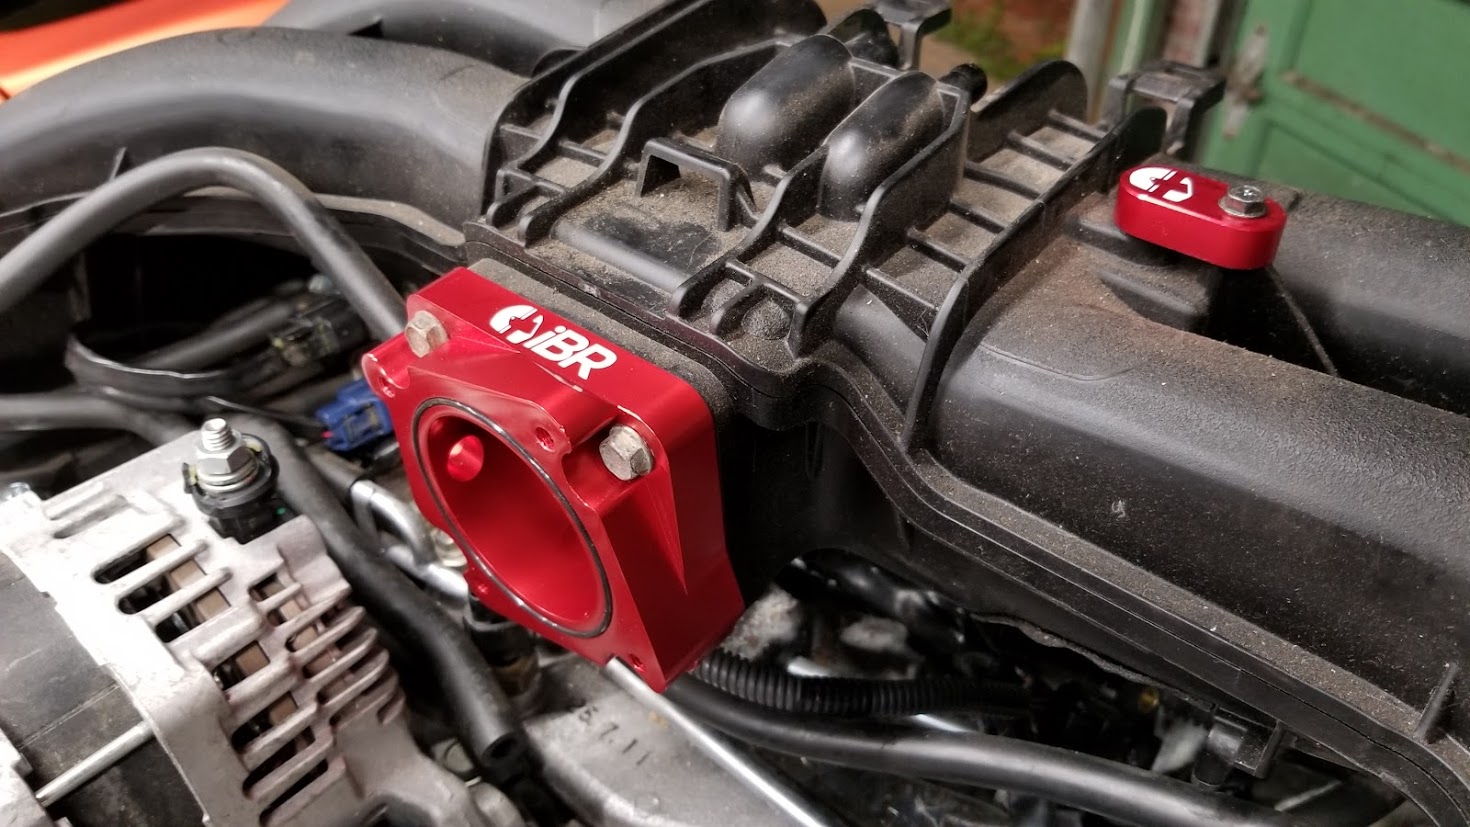
You will want to go ahead and bolt CNC machined the injector block off plugs into the BRZ injector location. First you have to install OEM lower injector seals then use 30mm M8 bolts included with the kit to bolt them in place.Next you will bolt on the throttle body adapter. Use the four 25mm M8 bolts included with the kit. The black intake manifold comes with an O-ring style seal in the manifold. The red intake uses and standard flat gasket that you will need to buy separately. After you have attached the adapter go ahead and install the OEM WRX throttle body (the BRZ one will not work with the WRX electronics).The BRZ uses a MAP sensor so you also need to intsall a block off for that as well. You can either use the OEM BRZ screw or the longer of the two M5 button head allen screws that come with the kit.The longer of the two throttle body coolant line connection will need to be rotated up to clear the alternator. This can be done with some pliers. The connection will rotate, so no need to bend or damage the throttle body in any way.
Now it is time to go ahead and install the intake manifold. The bolts to use here are the OEM bolts that were originally used to hold the lower TGV housing to the heads.

Be careful to hand start each bolt before tightening any of them down. This will ensure the intake manifold is aligned properly and no cross threading occurs. Torque to 15 lb-ft.

This is a good time to reroute the IAT/MAP sensor wire and install the sensor in the side of the throttle body adapter.  Also install the throttle body extension harness and connect it to the WRX throttle body.
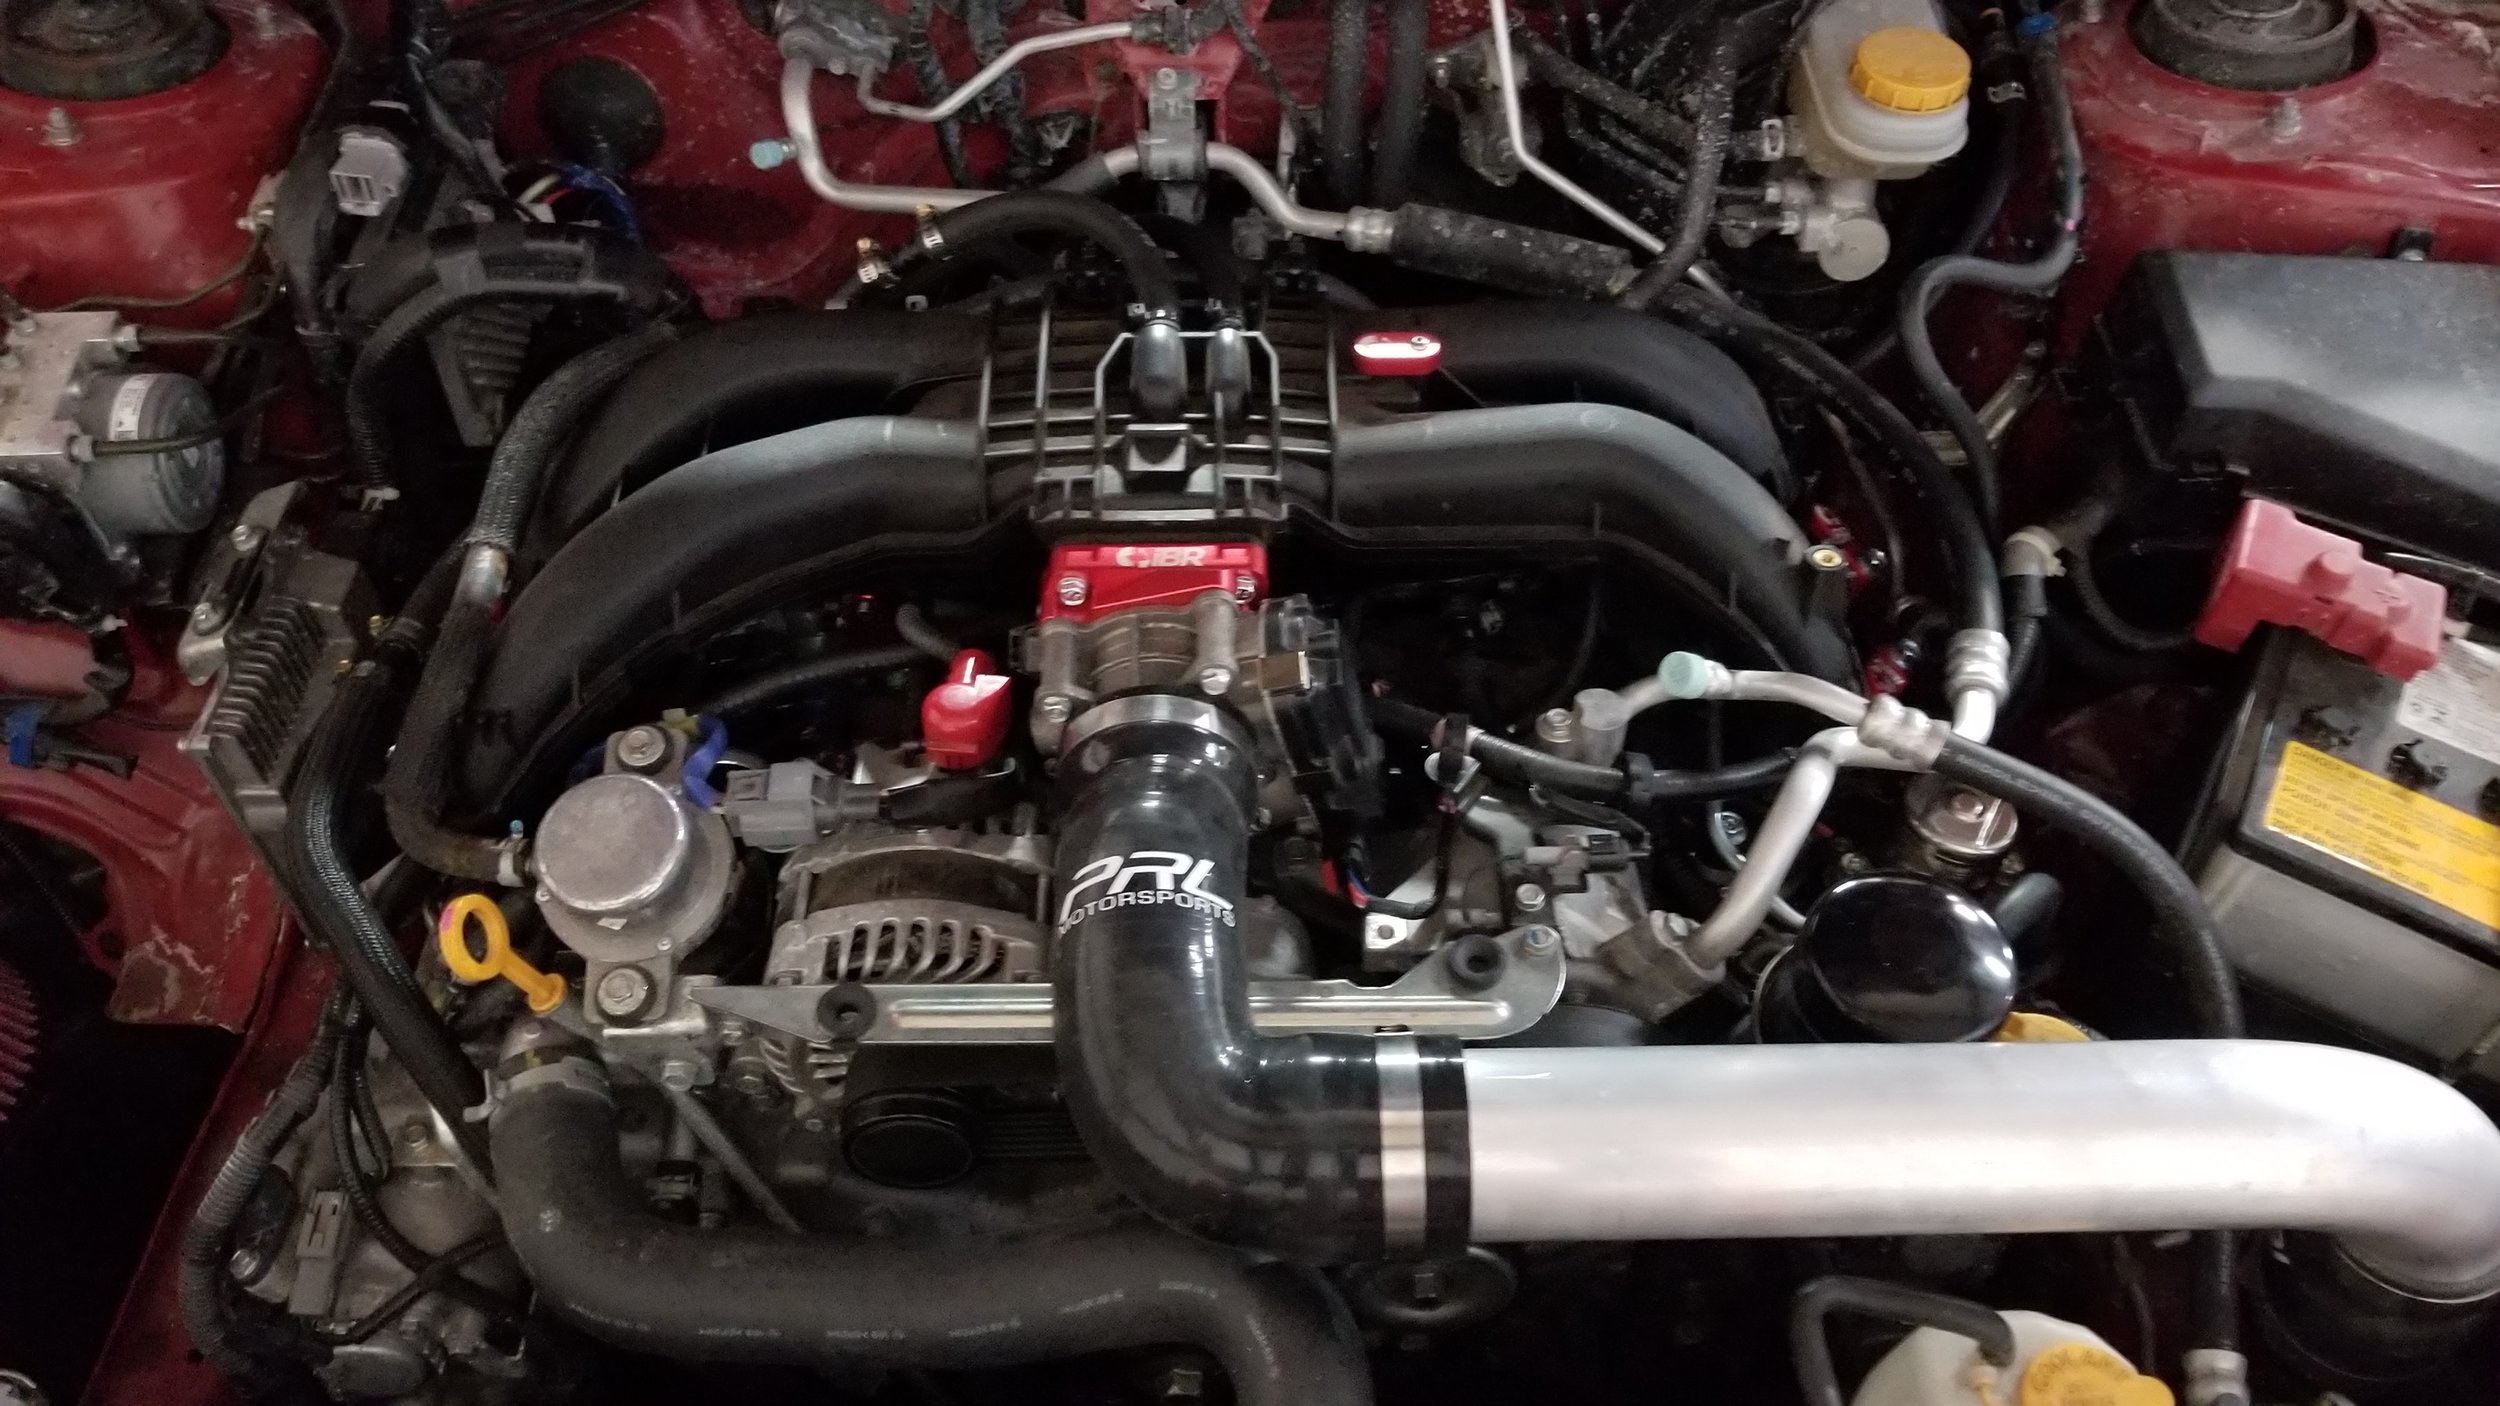
To finish the install you want to make sure all your vacuum line connections are in place and the alternator is reconnected. You will need to free up some slack in the alternator wiring as well as remove a small tab on the alternator post so that you can rotate the connection away from the throttle body. Connect your new/custom intercooler tubing and give the entire install a good look over to make sure nothing was missed.